Mastering EQ: A Practical Guide to Finishing Type Beats for Streaming and Sale
Your mix sounds fine to you, but the moment you upload it to YouTube or export it for sale, it feels somehow thinner and boxier than the commercial tracks next to it. If you make Type Beats, this last little step trips up a huge number of people. One of the keys to closing that gap is mastering EQ — tiny adjustments applied to the whole 2-mix.
In this article, after sorting out how it differs from mix EQ, the Beat Lab editorial team walks through the workflow we actually use, split into five steps: low-end cleanup → mud band → high-end air → width & texture → reference and LUFS checks. The numbers are given only as general guidance, so in the end you should always judge with your own ears and a reference track. For building the foundation at the mix stage, see how to build a mix template too.
What mastering EQ is, and how it differs from mix EQ
Mastering EQ is EQ applied to the exported 2-mix (a single stereo file) to shape the overall tone of the track. Its purpose and the size of its moves are clearly different from mix EQ. If mix EQ is about solving problems in each part — "cut the overlap between kick and bass," "tame the sibilance on the vocal" — then mastering EQ is closer to gently adjusting the color of one finished picture.
The most important thing to feel is that the moves are an order of magnitude smaller. In mixing you might cut boldly by 6 or 8 dB, but in mastering a 0.5 to 2 dB tweak can change the whole impression. Because every part rises and falls at once, even a tiny move hits hard. That's exactly why a mix free of problems is the prerequisite. If your foundation is muddy, going back to tidying the 2-mix before layering on more with mastering is the shortcut.
A 5-step workflow to finish at streaming and sales quality
Here's the actual process. Order matters: work from low to high, subtracting first and adding last, and it's much less likely to fall apart. Keep the band map below in the back of your mind as you read.
1. Low-end cleanup: cut unwanted sub, keep the 808 core
The first thing to touch is the very bottom. Below 30 Hz there's almost no musical information, yet it wastes headroom shaking playback systems and makes loudness harder to reach. Sweep it with a gentle high-pass filter (HPF) and you free up limiter headroom, so the track pushes forward more at the same volume.
That said, don't overdo it. If you thin out the trap centerpiece — the 808 core (roughly 40-80 Hz) — it may pass on your monitors but lose all its weight the moment it hits a club system or earbuds. The rule of thumb is "roll off gently below 20-30 Hz and leave everything above it alone." If you're wrestling with the low end itself, how to mix 808s and bass is your foundation.
2. Trim the mud band (200-400 Hz) just a touch
When something feels "boxy" or "cluttered," the cause is usually gathered around 200-400 Hz. The fundamentals and overtones of many instruments pile up here, so left alone it saturates and the mix loses clarity. Make a narrower band, hunt for the center, and shave it gently by 1 to 3 dB to open up the whole picture.
What to watch for is that this range also supports the body of the sound. Cut too much and you're left with a thin mix with no core. Once you've pinpointed the mud in solo, always listen back in context and keep it minimal. "I can't quite tell if it got better" is usually about the right amount.
3. High-end air: add a whisper of space with a shelf
When your track sounds "somehow dull or dated" next to commercial releases, the culprit is often the extension up top. This is a place to add, not cut. A high shelf lifting 8-12 kHz by around 1 to 2 dB brings air to cymbals and top melodies, and suddenly the track breathes in a modern way. A gentle shelf sounds more natural than poking a single point with a peak filter.
Overdo it and you get a harsh, brittle top end, so after boosting, always bypass briefly to check "did I push too far?" To handle this range safely, a precise EQ with linear phase and dynamic EQ is reassuring to have. The video below makes it easy to picture what a modern EQ can do.

4. Width and texture: tidy up gently with M/S and saturation
When the stereo image feels lacking, the EQ's M/S (mid/side) mode helps. Lifting the side highs just a touch widens the image while keeping the center thick. But boost the sides too much and the sound thins out in mono playback, so always fold to mono to check — that's the iron rule.
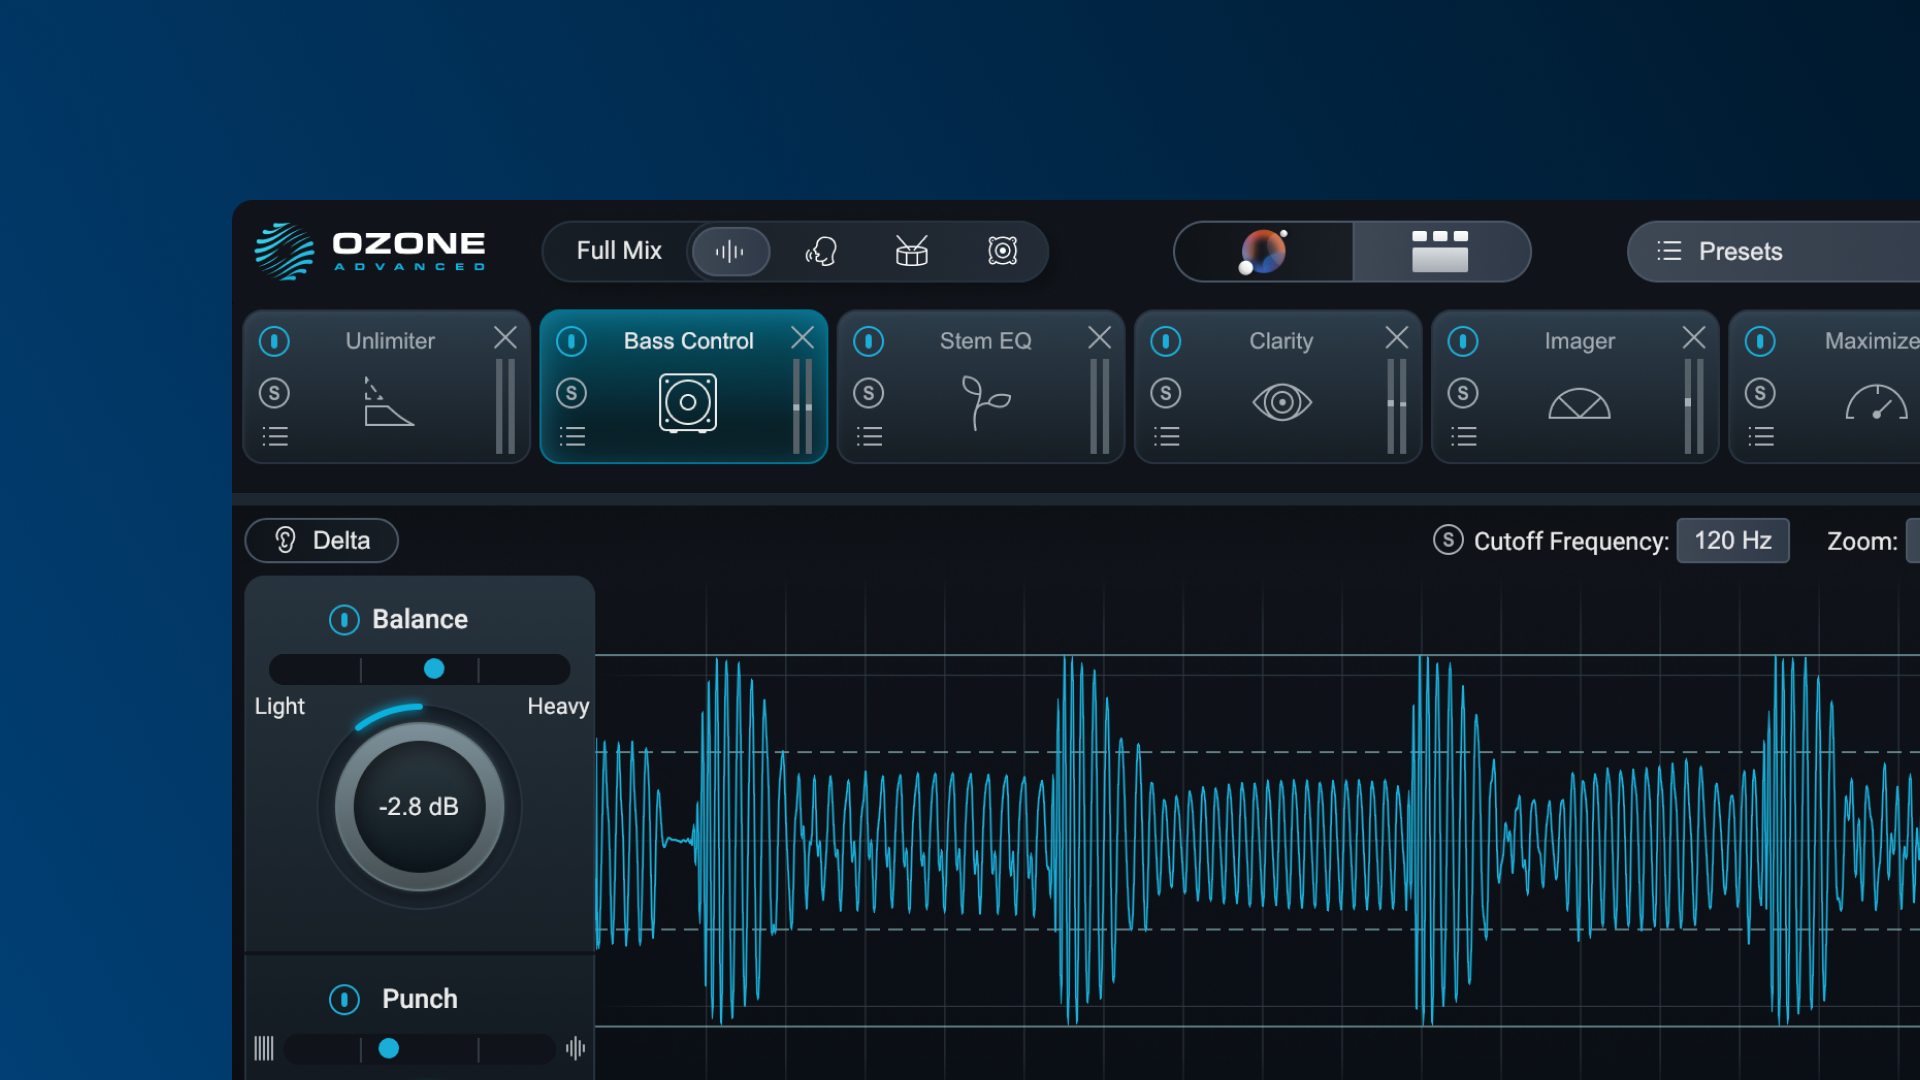
There's also gloss and density that "up or down" EQ alone can't reach; light saturation (tape/analog style) adds harmonics to fill that in naturally. EQ and saturation play similar roles, so nudging back and forth between them helps things cohere. If you'd rather handle all this band work with an integrated master chain, a tool like iZotope Ozone is an option.
5. Reference and LUFS checks: finish with ears and numbers together
The last step is checking your work. Trust only your ears and you'll be pulled around by your mood and monitoring on the day. So put your track side by side with a reference and compare whether the low-end weight, midrange clarity and high-end extension line up. Tips on choosing references are in how to pick reference tracks.
The other yardstick is loudness (LUFS). For streaming/sales Type Beats, aim first for around -14 to -9 LUFS, matched close to your reference, and you'll be less likely to get buried. You can check LUFS and peaks on your exported file right away with Beat Lab's dynamics analysis (free). For the underlying standards, see the complete LUFS guide. Shaping the bands with EQ first, then matching loudness — keep that order and you won't drift.
How to choose your tools: dedicated EQ vs. integrated mastering
Mastering EQ itself can start with your DAW's stock EQ or a free EQ. What matters first isn't an expensive plugin but the ear to land small moves on the band you intend. Still, it's worth knowing your options for when you want to refine things more tightly.
| Type | Best for | Examples and traits |
|---|---|---|
| Free EQ | Just starting | TDR Nova and the like. Dynamic EQ for free. See our free mastering article |
| Dedicated EQ | Refining tightly | FabFilter Pro-Q 4 and similar. Precise M/S, dynamic and linear-phase. More in the Pro-Q 4 review |
| Integrated mastering | Finishing in one go | iZotope Ozone and the like. EQ, maximizer and imager together. Neutron is its mix-side partner |
*Prices and specs were confirmed by our editorial team on July 28, 2026 via Plugin Boutique and elsewhere. They vary with sales and exchange rates. Please check the linked pages for the latest.
If you want to master EQ as a single tool, FabFilter Pro-Q 4; if you'd rather have the mastering stage handled all at once, iZotope Ozone — that split makes the choice clear. Both offer free trials, so try whether they fit your workflow before deciding.
Frequently asked questions
Q1. With mastering EQ, is boosting or cutting the default?
A. Starting with cuts (subtraction) is safer. Because it affects the whole 2-mix, boosting tends to lift noise and mud along with everything else. Hunt for the band with a narrow bell and shave it gently, then add back any missing range with a wide shelf — that order rarely falls apart.
Q2. Do I need a dedicated EQ for mastering, or is a free one enough?
A. A free EQ handles the basics fine. What matters more than a pile of features is whether you can land a small 0.5-2 dB move on the intended band. A free high-precision EQ like TDR Nova can reach streaming/sales quality. When you want to refine further, moving to FabFilter Pro-Q or iZotope Ozone is a realistic next step.
Q3. Does cutting 200-400 Hz always improve the sound?
A. No, not always. This range also supports the body, so cutting too much leaves a thin, coreless sound. "A gentle 1-3 dB with a narrower band, only when it sounds muddy" is the guide. Find the center in solo, then keep it minimal while listening to the whole mix.
Q4. After mastering EQ, what loudness should I aim for?
A. For streaming and sales, start around -14 to -9 LUFS and check it side by side with a reference. Normalization differs by platform, so don't chase an absolute number; prioritize matching your reference in perceived volume and tonal balance. After export, check the values with dynamics analysis.
Summary
The trick to mastering EQ comes down to not trying to fix things big. From low to high: sweep the sub gently, shave the mud a touch, add a whisper of high-end air. Tidy width and texture with M/S and saturation, then check your work against a reference and LUFS. Doing these five steps carefully within the 0.5-2 dB world is enough to make your Type Beats far more competitive on streaming and for sale. The numbers are only a starting point, so keep your ears and a reference in the lead, and gradually make your genre's standards your own.