How Far You Can Get with Free Mastering: Free Plugins Only
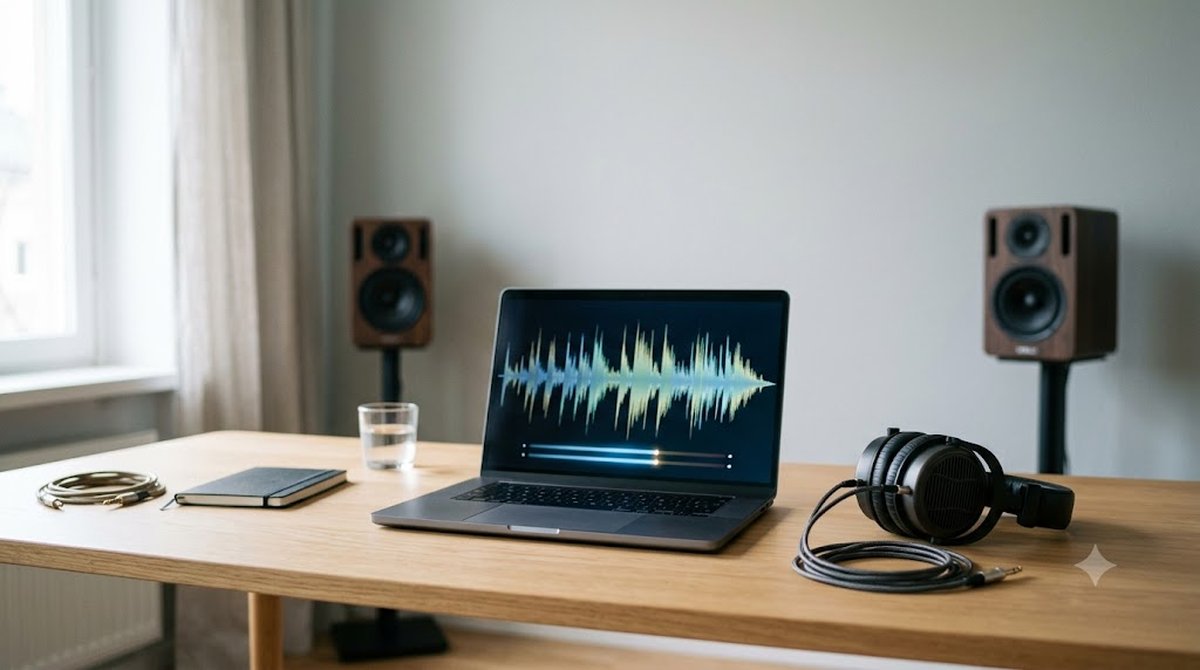
"Mastering is impossible without expensive plugins" is a common belief, but the reality is different. The core steps of mastering are just four — shape with EQ → glue with a compressor → raise loudness with a limiter → check on a meter — and all of them can be done with proven free plugins.
What follows is the whole process, in order, using nothing but free plugins. Work top to bottom and you finish a track. For the numeric check at the finish, we use our site's free Dynamics Analysis tool, so you don't need a paid meter either. For how to think about the target (what LUFS to aim for), see the best LUFS for selling beats as well.
1. Prep: export a 2-mix with headroom
Mastering is 90% the source material. Before you start processing, prepare a 2-mix (stereo file) in the following state.
- Export with no limiter on the master (don't push loudness at the mix stage)
- Peaks sit at around -6 to -3 dBFS (headroom = room to process)
- Problems like kick/bass overlap and harsh bands are already solved in the mix. Mastering affects everything at once, so it can't fix per-track issues
If you're unsure about the mix, checking how I build a Boom Bap mixing template first will make the following steps much easier.
2. The free mastering chain at a glance
The four free plugins we'll use are below. TDR Nova and others are staples we also cover in our 8 best free plugins.
| Step | Plugin | Role |
|---|---|---|
| 1. EQ | TDR Nova (Tokyo Dawn Records) | Low cut, cleaning up mud, dynamic EQ that tames only the harsh bands |
| 2. Compressor | TDR Kotelnikov (Tokyo Dawn Records) | A free bus compressor designed for the master. Gently glues the whole thing |
| 3. Limiter | LoudMax (Thomas Mundt) | A simple free limiter with just two knobs, Threshold and Output |
| 4. Check | Dynamics Analysis tool (our site, free) | Measures LUFS, True Peak and crest with a use-case pass/fail verdict |
Optionally, you can add Xfer OTT (very subtly) or iZotope Vinyl (for Lo-Fi flavor) for texture, but first get comfortable making a "straight master" with the four above.
3. Step 1: EQ with TDR Nova (shape)
EQ on the master is less about "making it better" and more about "removing problems." Both boosts and cuts of around 1 to 2 dB are the basics; if you feel the urge to move something a lot, the rule of thumb is to go back to the mix.
- Subsonic cut: lightly tidy up below around 20 to 30 Hz with a high-pass (numbers are a guideline). Inaudible sub energy just makes the limiter work for nothing
- Cleaning up mud: if around 200 to 400 Hz sounds boxy, cut about 1 dB with a wide Q (guideline)
- Using dynamic EQ: this is Nova's forte. For bands that are "occasionally harsh" — a snare that stabs, hats that hurt — process them not with a constant cut but with a dynamic mode that only tames them when they exceed a threshold, so you keep the texture while cleaning things up
4. Step 2: compress with TDR Kotelnikov (glue)
The goal of the master compressor isn't loudness; it's to gently "bond" the whole thing. The sweet spot is where you can barely tell it's working.
- Keep gain reduction (GR) at 1 to 2 dB (guideline). A meter constantly swinging hard means too much
- A low ratio (2:1 or lower as a starting point), a slow attack, and a release that returns naturally in time with the tempo are the standard settings
- When in doubt, compare with bypass on/off and judge by whether "cohesion" has increased, not by the volume difference
5. Step 3: limit with LoudMax (raise loudness)
Finally, use the limiter to raise loudness up to the target. With few controls, LoudMax keeps the steps simple.
- Lock Output (the ceiling) to -1.0. In environments with an ISP (True Peak detection) option, turning it on is safer as a countermeasure against encoding distortion
- Lower the Threshold gradually to raise loudness. The lower it goes, the louder it gets — but it also gets more crushed
- The target changes with the use case. For preview/lease sale masters aim for -8 to -10 LUFS; for streaming, around -14 LUFS (details on LUFS by use case here)
- When the kick's "thud" turns into a "pat," that's a sign of over-crushing. Bring the Threshold back up
6. Step 4: measure with the Dynamics Analysis tool to finish
Ears alone tend to miss the loudness target due to your monitoring environment or fatigue. Load your exported file into the Dynamics Analysis tool and check your answer with numbers.
- Drop your exported WAV/MP3 into the tool (analysis runs entirely in the browser, no upload)
- Choose a use-case mode: sale master (-8 to -10 LUFS / TP -1.0 dBTP) / streaming (around -14 LUFS) / handoff (no limiter, peaks around -6 to -3 dBFS)
- Check the pass/fail verdict and tips. If LUFS is short, lower LoudMax's Threshold a bit more; if crest (peak minus RMS) drops well below 6 dB, that's over-crushing, so back off and re-export
Cycle through "export → measure → tweak" two or three times and you'll land neatly on your target. This is the finished form of self-mastering you can do for free.
7. The limits of the free chain, and when to go paid
Even with the free chain, the process can produce a master that holds up for commercial release. Where paid tools have the edge is mainly efficiency and decision support. For example, iZotope Ozone has an AI assist that analyzes your audio and suggests EQ, dynamics and limiter settings all at once, plus a reference-matching feature, automating many of the decisions we made by hand in this article.
The recommended order is to first learn the process hands-on with the free chain, then move to paid to save time. If you understand the process, you'll notice when the AI's suggestions are off. We cover Ozone's features and how to choose in the iZotope Ozone 12 review (the review contains PR). For a dedicated loudness-maximizer option, the Waves L4 Ultramaximizer review is also a useful reference.
Frequently asked questions
Q. Can I make a sale-ready master with free plugins only?
A. Yes. The core mastering steps (shape with EQ, glue with a compressor, raise loudness with a limiter, check on a meter) can all be done with proven free plugins like TDR Nova and LoudMax. The difference versus paid tools is less about sound quality itself and more about workflow efficiency from AI assist and integrated modules. Learning the process for free first is the standard way to go.
Q. What state should my 2-mix be in before mastering?
A. The standard is to export a 2-mix with no limiter on the master fader, with peaks around -6 to -3 dBFS. Without headroom left, there's no room to process with EQ or compression. Also, mix-stage problems (like kick and bass overlapping) can't be fixed in mastering, so solve them in the mix first.
Q. Can I master with just a limiter?
A. If the 2-mix is in good shape, a single limiter plus a meter check can be enough. EQ and compression are steps for "fixing problems when they exist," so they aren't mandatory. But two things are safe to keep: set the ceiling to -1.0 dBTP, and don't crush so hard that crest (peak minus RMS) drops well below 6 dB.
Q. When should I move to a paid mastering tool?
A. A good sign is once you understand the process with the free chain and start feeling "I want to speed up the decisions each time" or "I want to automatically match a reference." An AI-assisted integrated tool like iZotope Ozone automates the analysis and adjustments you were doing by hand. Using it after you understand the process is more effective, because you can judge whether its suggestions are good.
Summary
The free mastering process boils down to these five lines.
- Prepare a 2-mix with headroom, peaks around -6 to -3 dBFS
- Process only the problem bands lightly with TDR Nova (dynamic EQ is powerful)
- Apply thin glue with TDR Kotelnikov, aiming for 1 to 2 dB of GR
- Lock the ceiling to -1.0 with LoudMax and raise loudness to the target LUFS by use case
- Measure with the Dynamics Analysis tool and repeat "export → measure → tweak"
Even if every tool is free, the process is the same as in a paid setup. Start with one track: finish it with this chain and get a pass on the analysis tool. You can gather the plugins from 8 best free plugins. When you later need the time savings and automation beyond that, take a look at the Ozone review (contains PR).